

Why containers are the easiest route to spring colour
There is something quietly wonderful about a pot of bulbs in late February. While the rest of the garden is still grey and slumped, a container of dwarf daffodils or grape hyacinths is already in full swing, and you can position it right by the back door where you will actually see it. Containers also give you options that borders cannot: you can move pots into the sunniest corner over winter, whisk them out of sight once the foliage has yellowed, and ring the changes every single year.
The other great advantage is control. Bulbs in open ground are at the mercy of heavy soil, drainage and slugs. In a pot you decide the compost, you decide the watering, and you decide exactly how deep each bulb sits. Get the basics right and you will be rewarded with a display that costs very little and asks for almost nothing between October and April.
Choosing bulbs that earn their place in a pot
Not every bulb suits container life. Tall, top-heavy varieties flop in wind, and anything that needs a long, cold, undisturbed run is better off in the ground. What you want are compact, sturdy types with plenty of flower power per square inch.
- Daffodils: look for dwarf and miniature cultivars, which stand up to rain without staking and suit a pot far better than the tall garden types.
- Tulips: species tulips and shorter garden varieties are ideal, flowering in April and May just as the daffodils fade. They prefer a sunny spot and sharply drained compost.
- Crocus and iris: the earliest of the lot, often flowering in February. Plant them generously, as you need a crowd of them to make an impact.
- Grape hyacinths: brilliant for the front of a pot, with dense spikes of blue that return reliably year after year.
- Snowdrops and winter aconites: small, subtle and best viewed close up, so a pot on a doorstep or patio table shows them off beautifully.
Buy firm, heavy bulbs and reject anything soft, mouldy or hollow. Size matters too: within a variety, bigger bulbs mean more flowers, so it is worth paying a little more for the top grade.
Layering bulbs for a longer show
The trick that turns a decent pot into a spectacular one is layering, sometimes called lasagne planting. Instead of one layer of bulbs, you build two or three, with the largest and latest-flowering at the bottom and the smallest and earliest at the top. Because the bulbs are at different depths, they flower in succession, and the pot stays interesting for two or three months rather than a fortnight.
Start with a generous layer of drainage material at the base if your pot is large and heavy, or simply raise it on pot feet. Fill with fresh, peat-free multipurpose compost mixed with a couple of handfuls of grit or perlite for drainage. Then work upwards:
- Set the deepest layer, usually tulips, around 20cm deep, spaced roughly their own width apart.
- Cover with compost and place the next layer, typically daffodils, about 12 to 15cm deep.
- Finish with crocus, grape hyacinths or iris just below the surface, around 5 to 8cm deep.
- Top up with compost, leaving a 2cm gap below the rim so you can water without it running straight off.
Point the bulbs upwards and do not worry if they touch. Crowding is fine and actually looks better; just make sure no bulb sits directly on top of another.
Compost, drainage and where to put the pot
Spring bulbs rot in soggy conditions faster than almost anything else, so drainage is not a detail, it is the whole game. Every container must have drainage holes, and you should never let a pot stand in a saucer of water through winter. If your patio collects puddles, raise the pot on bricks or pot feet so air can move underneath.
Use fresh compost each autumn rather than last year's tomato compost. Old compost compacts, loses structure and can carry disease. A peat-free multipurpose blend with added grit or horticultural sand works well for most bulbs; tulips in particular appreciate the extra sharpness.
Positioning matters more than most people expect. Bulbs in pots respond to warmth, so a sunny wall or a sheltered south-facing corner will bring them into flower a week or two earlier than an exposed spot. Just be careful with terracotta in a hard frost, as it can crack, and with very small pots, which freeze solid and thaw quickly, damaging roots. Grouping pots together gives them mutual protection.
Watering, feeding and the months after flowering
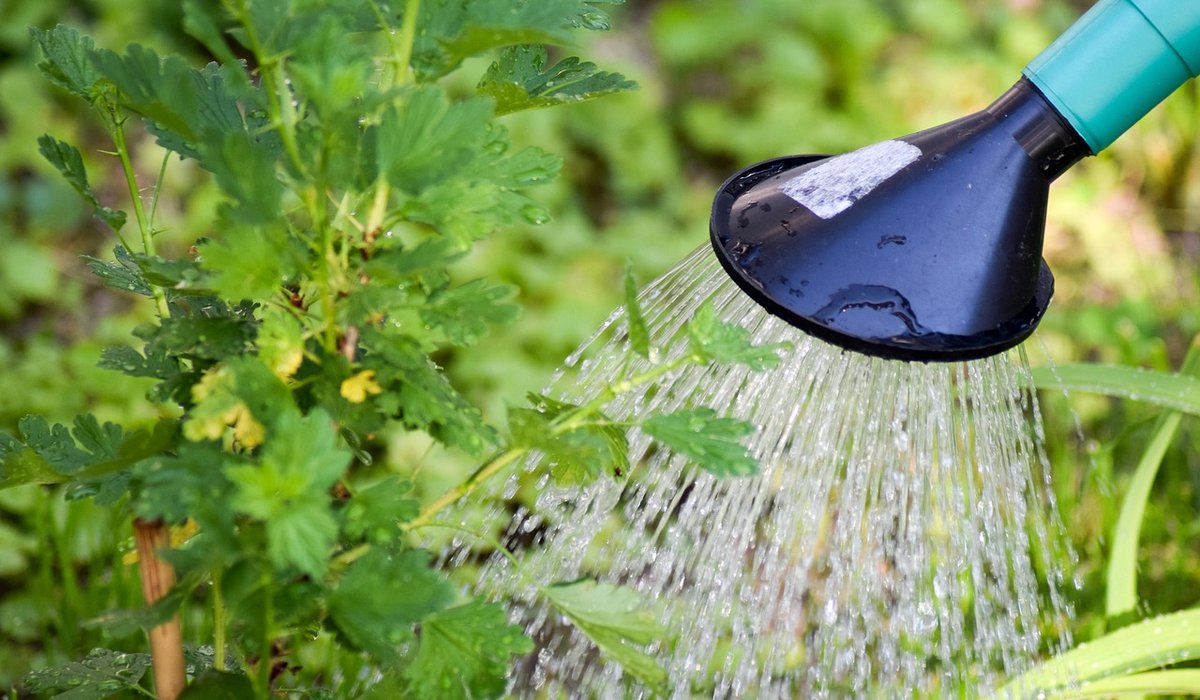
From planting in September or October through to the end of flowering, keep the compost lightly moist but never sodden. In a normal British winter, rainfall does most of the work, so check before watering. If we get a dry, mild spell in February, a drink will help the flower buds swell.
Once the leaves appear, start feeding fortnightly with a balanced liquid feed. This is the period when the bulb is rebuilding its reserves for next year, and it makes a real difference to how well the pot performs the following spring.
After the flowers fade, deadhead them so the plant does not waste energy on seed, but leave the foliage alone. Let it die back naturally, which usually takes about six weeks. Only then should you cut it off. If the yellowing leaves offend you, hide the pot behind something else or move it to a less prominent corner.
You can leave bulbs in their pots over summer, keeping them somewhere cool and dry, or lift and store them in a labelled paper bag. Tulips generally perform better lifted and replanted fresh each autumn, while daffodils, crocus and grape hyacinths will often settle in and flower again for several years with a top-up of fresh compost. Either way, a little attention now means a pot full of colour when you need it most.




John Doe
14 January, 2022Having no content in post should have adverse..
Chauffina Carr
10 April, 2022We use these tests all time! Killer stuff!
Jim Séchen
16 July, 2022Thanks for all the comments, everyone!